
Fine Art Prints are a great way to get your art in the hands of collectors and a great way to make income as an artist. The first thing to consider is what kind of print you will want to produce. I prefer the quality and longevity of Giclee Prints.
I often get asked by other artists about Giclee Printing and the hows and why I do it. I also get questions about Giclee Prints from customers and clients from time to time. So here is a guide to pretty much everything you need to know about these great Archival Fine Art Prints.
WHAT ARE GICLEE PRINTS:
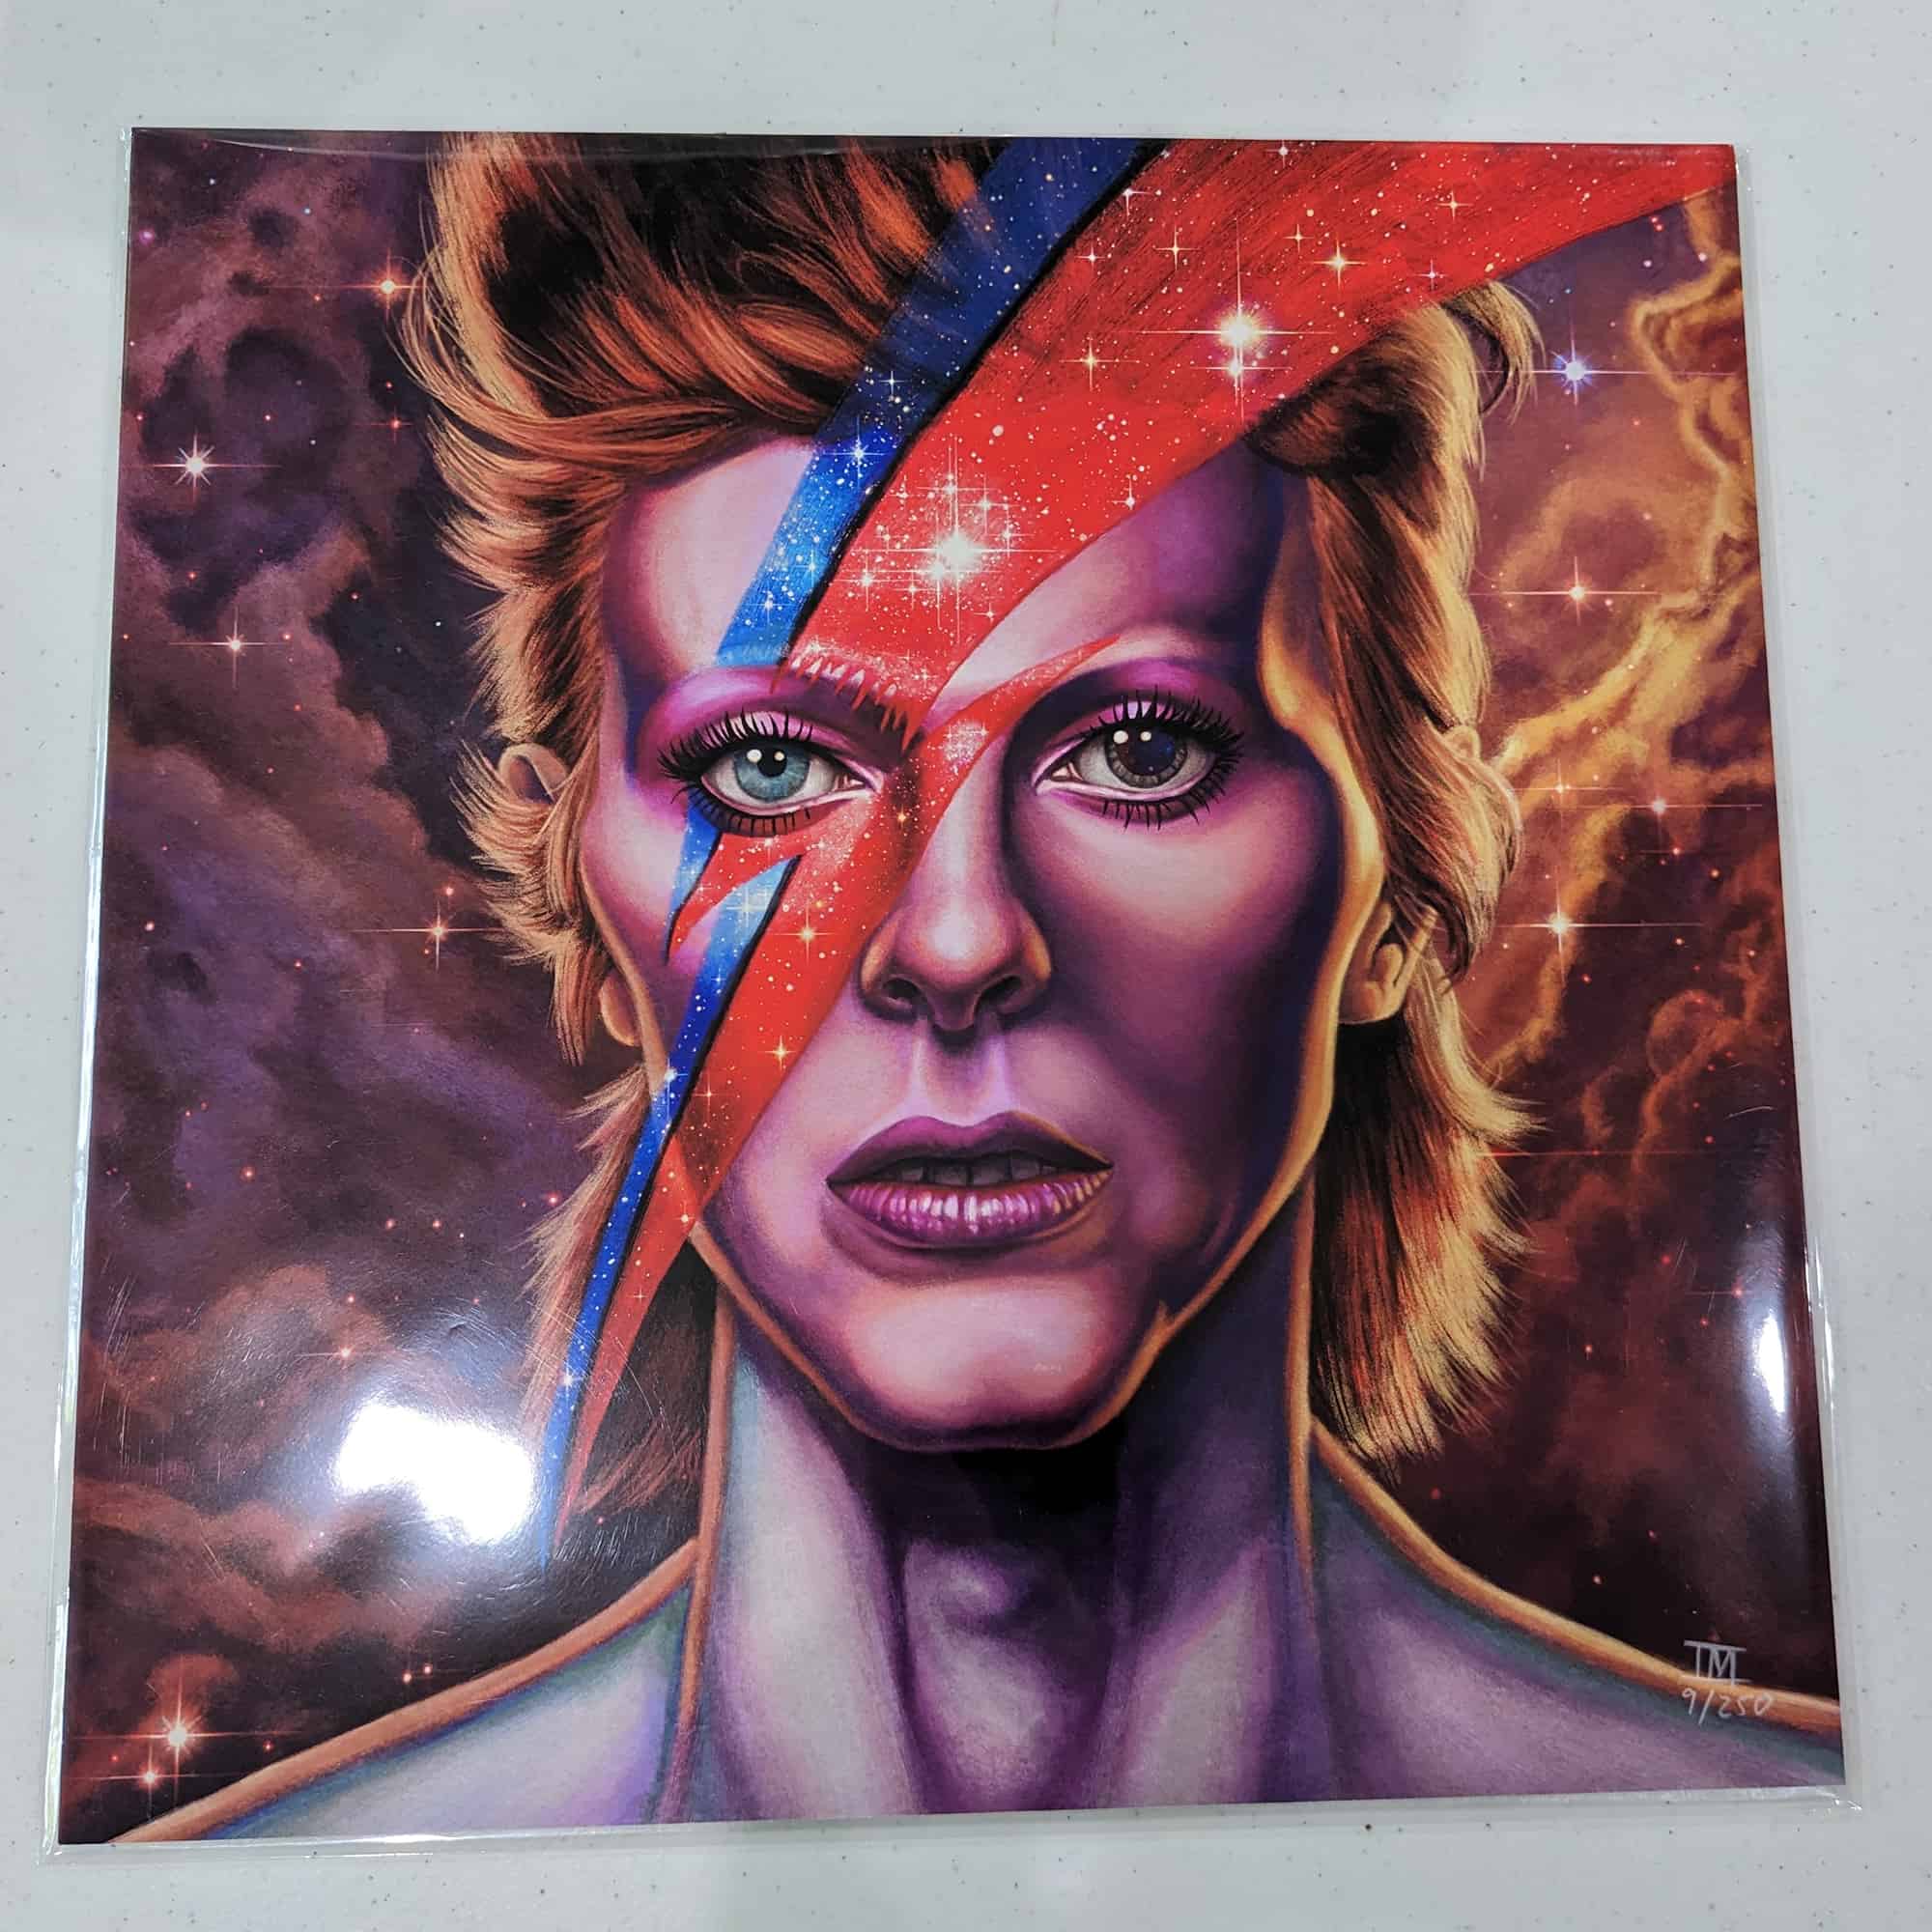
Giclee Prints are Museum Quality, Archival Fine Art Prints. They are not going to fade or yellow over time like other prints do because they use archival pigment inks on archival paper. The estimated life expectancy of a giclee print is around 100-200 years before they start to fade or yellow, depending on how they are kept.
This printing process uses more vibrant pigment inks instead of dies. They are more color accurate and higher resolution, than normal prints. The colors will be richer, more vibrant and details will be sharper. These prints are designed to be closer to the original work and last longer.
What You NEED TO KNOW
RESOLUTION:
In order for the highest resolution and quality for detail an image needs to be printed at 300 DPI (dots per inch) or higher to be considered a giclee print. For this to happen you must ensure that your original artwork is scanned or photographed at a resolution of 300 dpi or greater. If you are a digital artist your artwork must be created at 300 dpi or higher. I prefer to work between 300-600 dpi typically or at a much larger scale. For example, I may paint a digital illustration at 36”x36” at a resolution of 300 dpi. But I may choose to print it at 12”x12” at 300 dpi. This allows me to paint greater detail at the larger size, then I shrink it down sometimes for an even sharper image. This works great with painting, but beware of going too small with things like pen and ink drawings as the cross-hatching may get too tight at smaller sizes. You will need to be aware of how creating art and scaling it down will affect the final. I suggest always doing a test print at your desired production sizes before ordering a full run.
PRINTING:
The most important thing to check with any printer you are considering having to produce Giclee prints for you is that their machine really is a Giclee printer. You want to ask if their machine is using archival pigment inks on archival paper. Acid-Free does NOT mean Archival, so make sure they know the difference, there are specific requirements for the paper to be “archival”. All Archival paper must be Acid-Free, but there is more that goes into it. They must be lightfast, 100% acid-free, and lignin-free. Acid-free just ages slower but does not last as long as archival paper.
The other thing to consider is how many colors of ink the printer is using, most giclee models are using 11-12 ink colors to print. Some models out there I heard have even more like, florescent colors, for even more vibrant prints.
sRGB COLOR PROFILE:
So let’s talk about the color profile, these are not CMYK machines like other printers. You do not want to set your art or prints up in CMYK. Instead build your files with the sRGB color profile (Working RGB: sRGB IEC61966-2.1) and send the printer the sRGB file. I will give this tip too if you are a digital artist, while you are using sRGB as I said, be aware some colors may still be out of the gamut for the printer depending on the machine, vibrant fluorescents, turquoise, purple pinks, etc, may get muted down. I tend to paint like normal but then when I’m done I turn on proof colors in Photoshop to get an idea of where some colors may shift or clip when printing. I then paint masked adjustment layers in those areas. You can also check your gamut as you work and try to stay in range, photoshop will give an out-of-gamut warning when you are picking colors in the color selector window. When you turn on proof colors under the view tap in Photoshop you will see some colors shift or mute, these are colors you need to fix.. Screens still have a wider range of color and value than printers do. But I will say Giclee printers are still far more color accurate and have a wider gamut than normal printers.
PROOFS AND COLOR ADJUSTMENTS:
Get a proof printed before doing final print runs, print the image close to if not exactly the same size as the intended final size it cost more but colors and details will be more accurate to compare when proofing. When printing smaller than the final print it can compress details, colors, and values so you will have a harder time proofing accurately for larger prints if you are proofing them in smaller sizes. I have noticed that with almost every printer I have sent giclee prints to have printed, they come out a touch darker in the mid-tones than I like straight from the original art.
I have a fix for this, so what I do with every piece is this: I save a copy of the art that is a flattened image. I then make a curves adjustment layer in Photoshop that I can turn up or down depending on the piece. I also like that it’s an adjustment layer because I can drop it into other files. All I have had to do after making the initial curves adjustment layer is drop it into another file and adjust opacity as needed. I found you just want to lift the mid-tones and mid-shadows. Make sure to put points in the main shadow and highlights that keep those closer to the center, so you don’t crush them out, and points in the mid-tones that are a little higher than the center line. To get an idea of what you may need to adjust, print one piece that has a big range of values and colors then take it home and compare it to your original image on screen and dial in the settings until it looks right. Turning on proof preview in Photoshop can help with this too. There will be an image of my curve layer at the end of the post.
If you’re worried about reprinting multiple times you can have them slice the trouble areas and test smaller sections, but I have a hard time working that way I personally like to see the whole piece. I have had some pieces where I have had to do multiple proof runs to get it right and others where it was perfect on the first proof (with my premade custom adjustment layer) it just kinda depends, the nice thing is once you approve a proof the printer will be able to match everything else for that piece after.
If you can find someone local or within driving distance that is ideal, it will save you hundreds of dollars in shipping, and days of time especially in the proofing process. I have a local shop I can drive to and look at the print in person. If it’s good I give the green light, if there are issues then I take the proof home and fix it, and I can usually see a new proof on the same day.
QUALITY CONTROL AND A GOOD RELATIONSHIP:
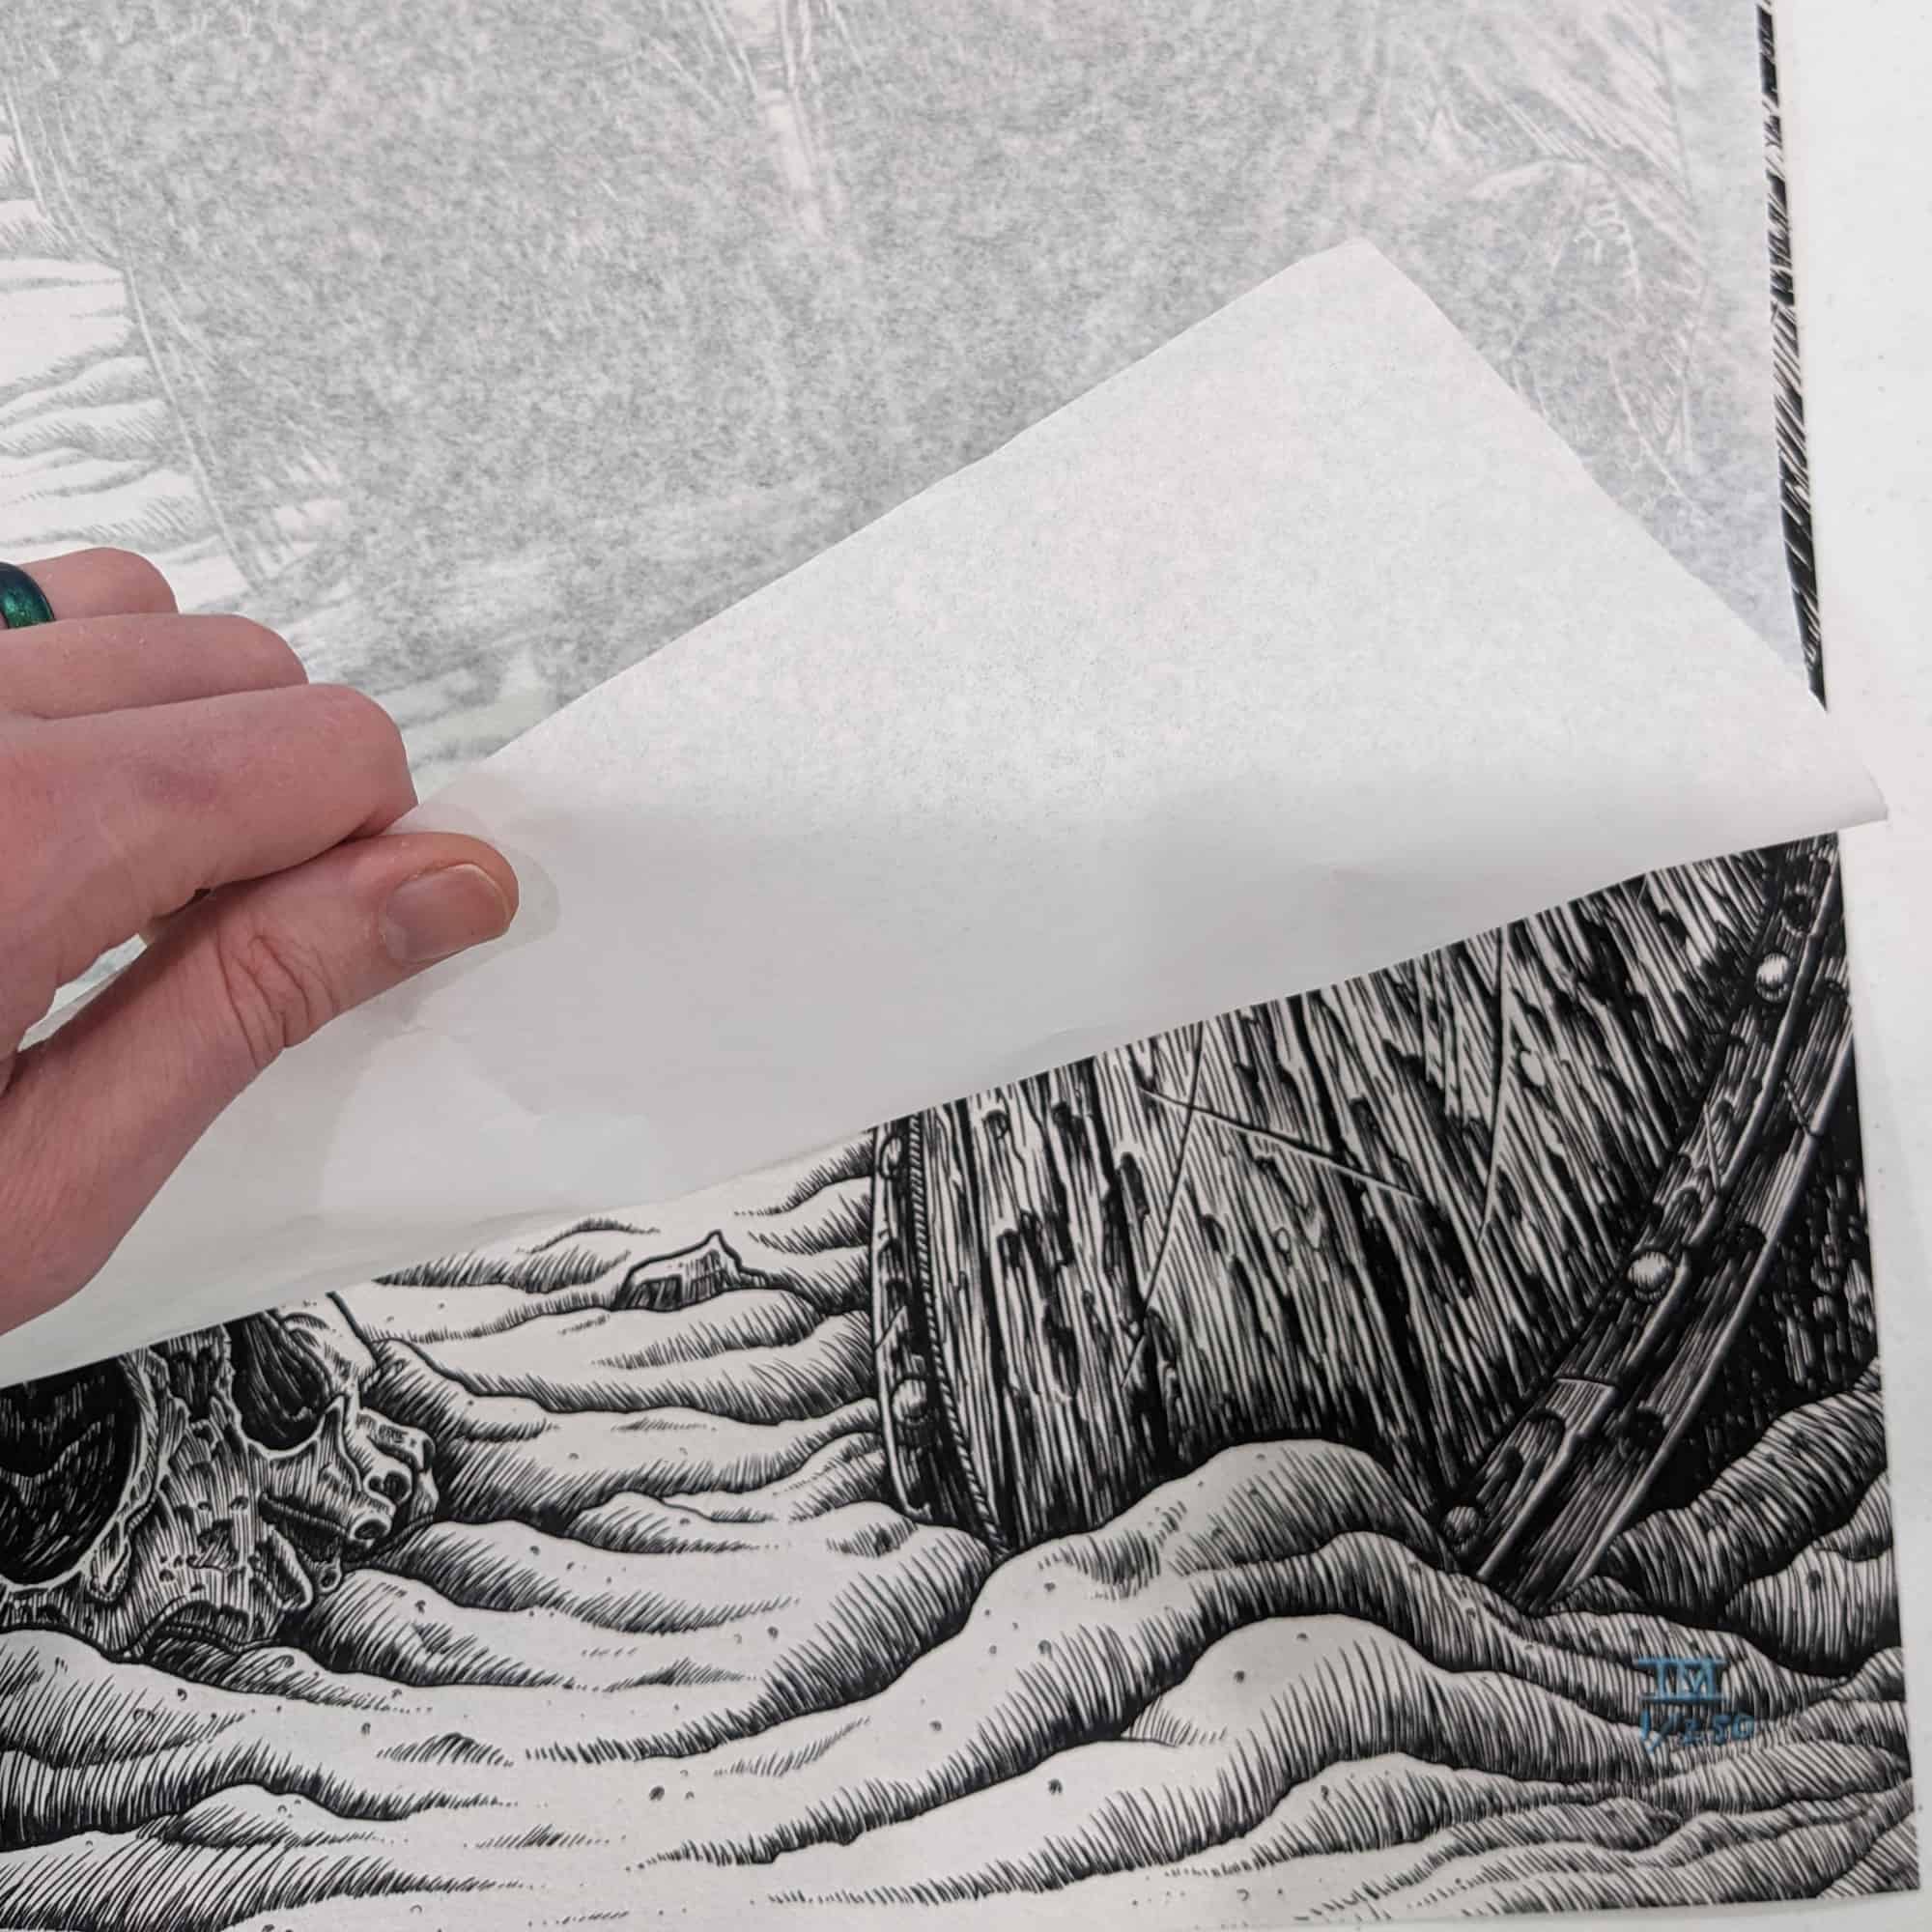
Make sure you can develop and maintain a great relationship with whatever Professional Printer you choose. A good working relationship will be invaluable to you and them and hopefully will last for years. Make sure your chosen printer is willing to work with you for quality control. Sometimes dust can get on the paper before the print is run and ink can lift off that spot and leave a white spot on the print that you will not be happy with. Matte Giclee Prints can be delicate due to no coating, which means they can scuff or smudge when cleaning dust off, cutting to size, or even handled improperly. Make sure your printer is willing to inspect their work and make sure there are no flecks of missing color, scuffs, or smudges on their prints. My printer puts archival tissue over every print when done so they don’t get dust or scuff each other. I made a deal with mine where I pay him a little more for the quality control, but he makes sure everything is good and will reprint mistakes they made on most pieces for free, but they discount the giant prints because it’s a huge hit for them if something happens while printing those. They are small and local and go out of their way to make sure I’m taken care of so I don’t have a problem if I have to cover things like that every now and then, and it’s rare that there is an issue.
Quality control is everything when working with Giclee Prints especially because of what you are paying to have them printed and intern what the customer will be paying you. It’s worth the extra time and expense to make sure it’s perfect. Make sure you hand Inspect every piece you receive as well.
OPEN RUNS VS LIMITED EDITION:
This is of course your decision personally every Gilce Print I have made is Limited Edition. There are several reasons to do this.
- Limited Edition runs create a need and urgency and mean something to collectors and the work is more rare and exclusive.
- Many art shows require your runs to be limited edition, and you can’t sell if they are not and they must be signed and numbered.
- They have a higher upfront value, hold their value, and increase in value as the artist becomes more well-known. You can theoretically sell them for more. Though I find at my venues I price just slightly above guys with open runs. Why do I price them a little lower than I maybe could sell them for? Selling Giclee Fine Art Prints can be hard, not everyone gets the Giclee thing or why it is important, I have to explain the value of a Giclee Archival print to most people. It’s our job to educate them about why our work and printing process is valuable and worth paying a little more for. Still, some people just don’t want to pay a lot or don’t have the money. It’s better to sell a little lower than to sit on the product. But when you tell them everything you do is limited edition and once it’s gone there are no more of that size, it raises the stakes and value, and I find they are also more likely to buy right now.
- Make people fight for your art, those who really want it are the ones who deserve it and the ones you want to take your art home to cherish for generations.
If you are doing a limited edition run and want to sell at art shows stick to 250 pieces per size. So, if like me you have say an 8×10 and 16×20 of the same artwork you can sell only 250 of each size. Most shows that have a limit cap I have found to be at no more than 250 in a limited edition run. Sometimes I do smaller runs too.
BUDGET TIP FOR LIMITED EDITION PRINTS:
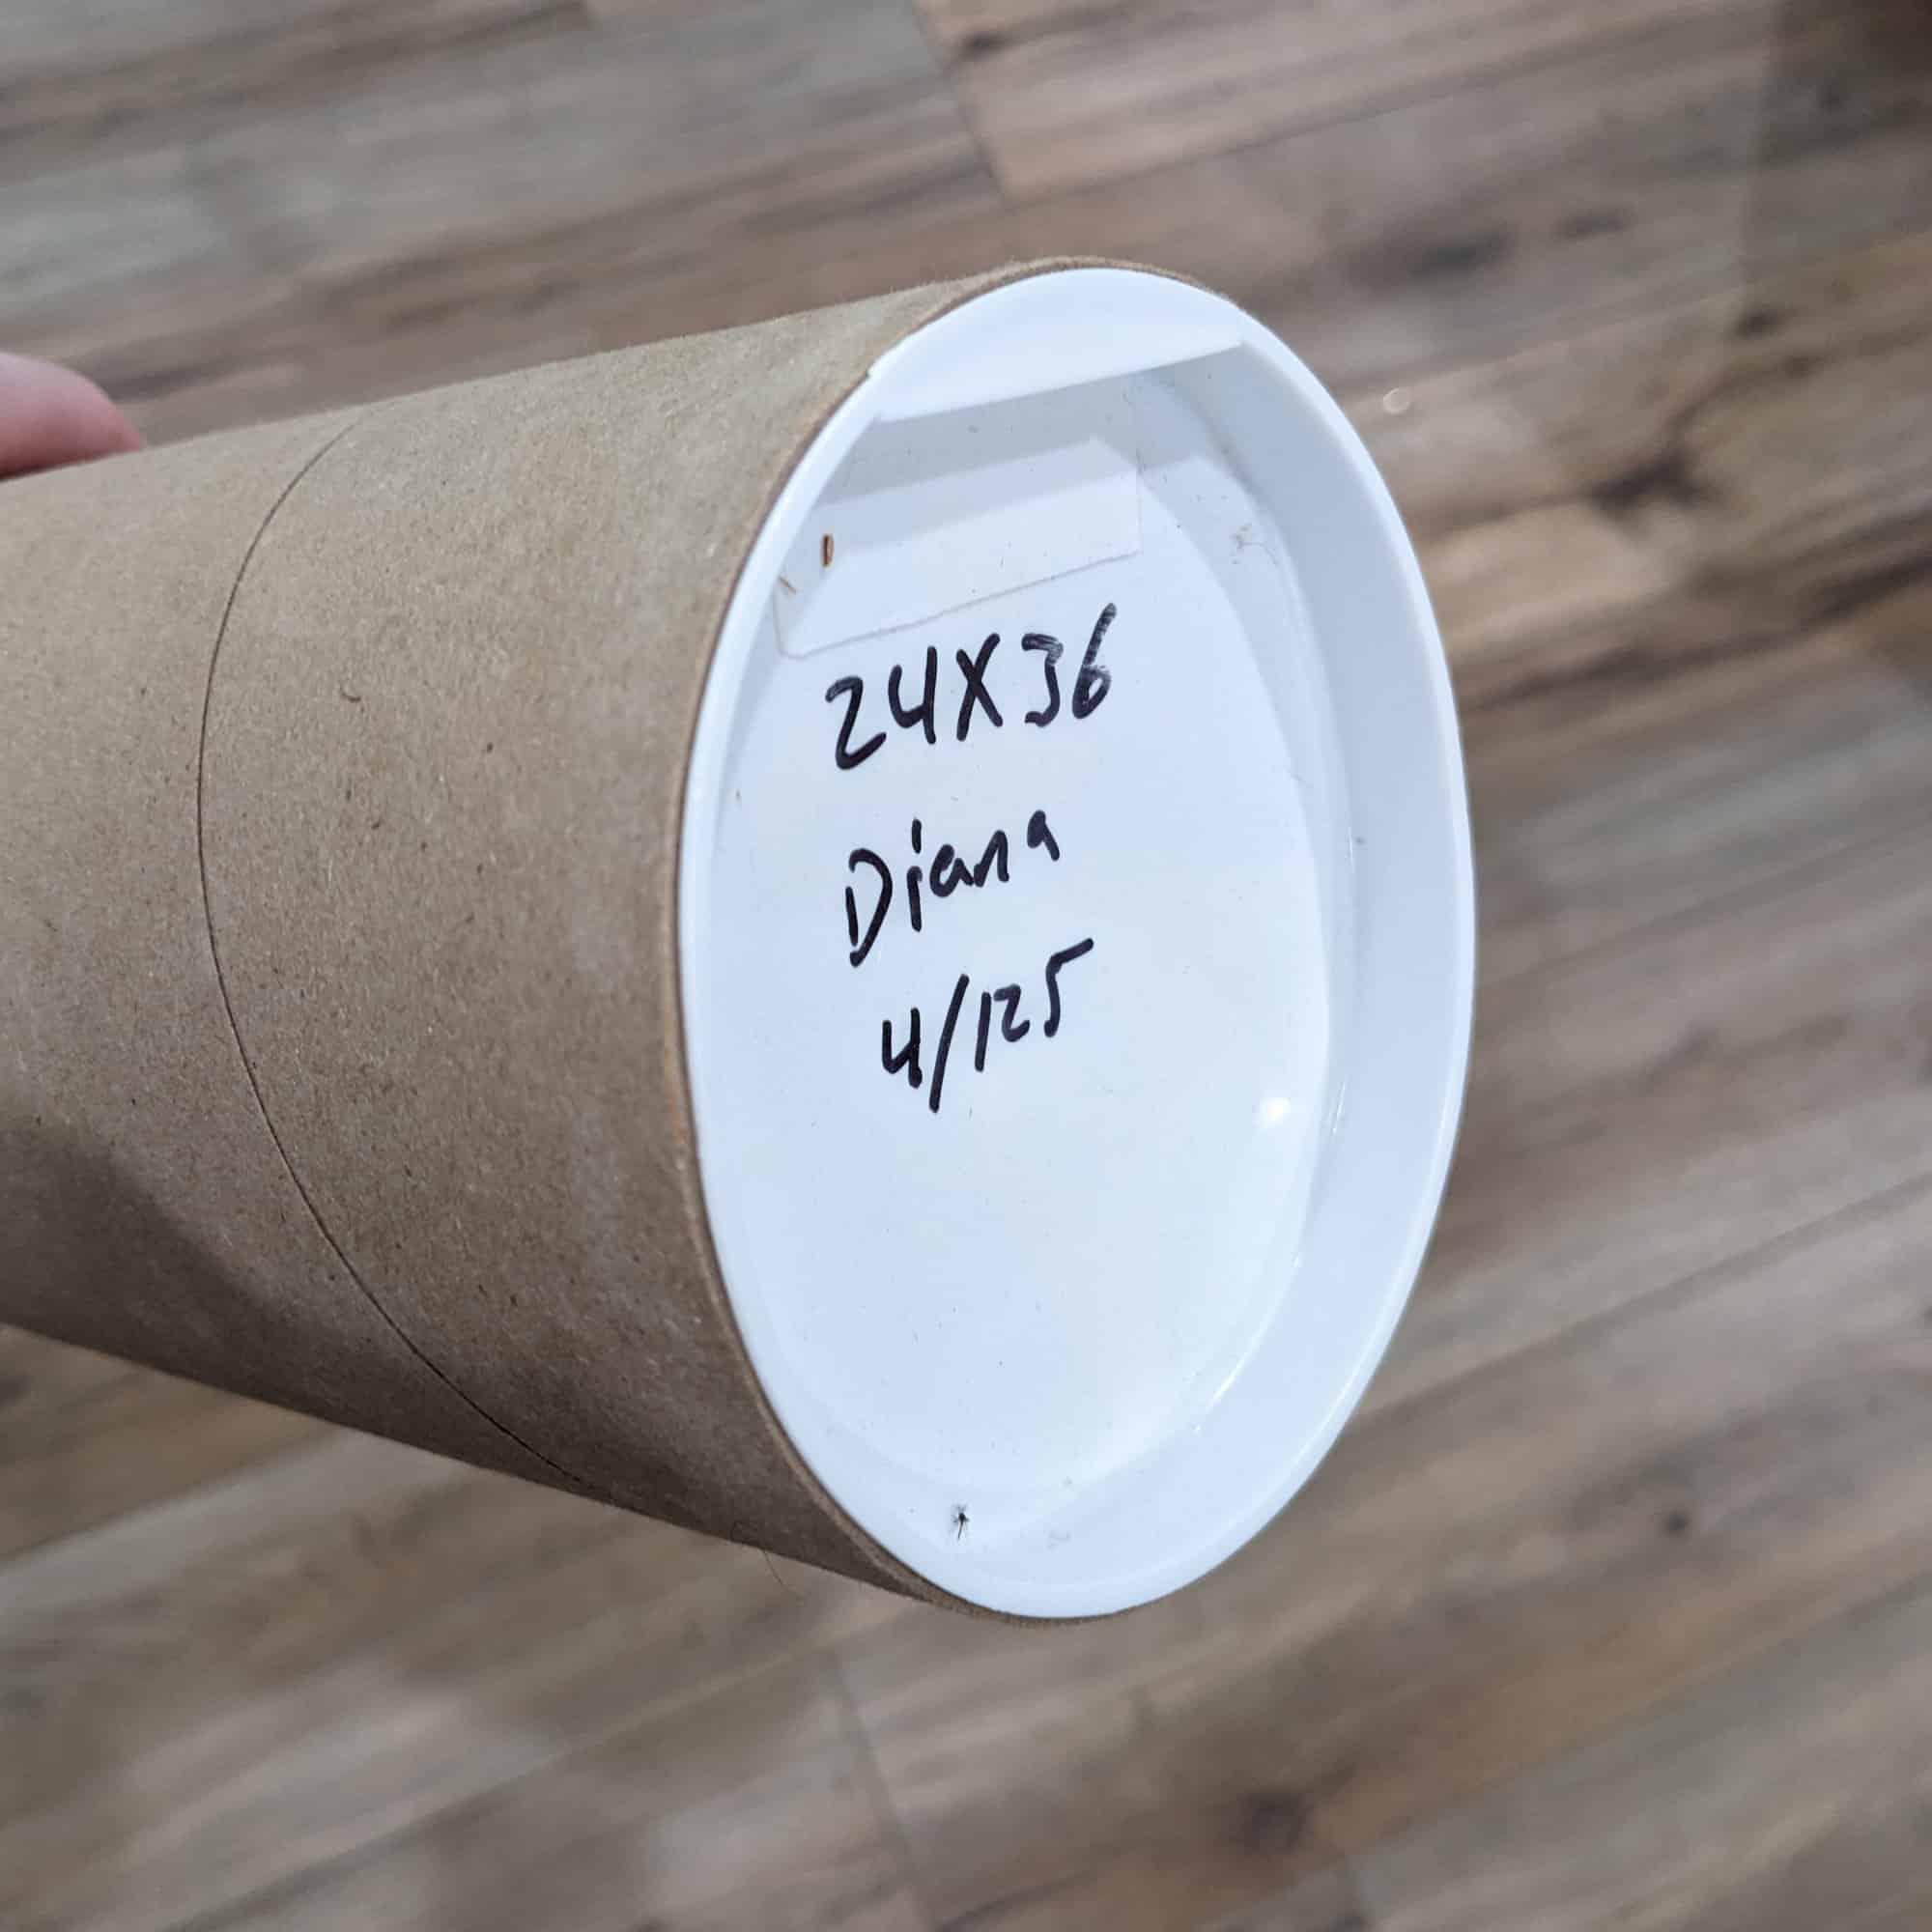
If you are doing a limited edition run, you may not be able to afford to print the full run of 250 of each piece of art you have, here’s what I recommend. Print 5-10 at a time, then number those when you get low or sell out you can order more. Keep a Google doc or spreadsheet to keep track of what number you left off on, and pick up where you left off on the next order. So if you have 10/250 printed already mark it down, then when you order say 5 more you add it to the running number, the next set you start at 11/250, and the resulting Talley would now be 15/250. It keeps the cost, and inventory down while still honoring the limited edition. You are just guaranteeing once you hit 250 you are done with the size of that image and no more will be made.
Always make sure you hand number every piece accurately. Ie 12/250 and keep accurate records if you are buying a few at a time. Also, don’t switch printing companies or paper when doing it this way, so you need to keep those records too.
PACKAGING:
Remember your prints are archival but most packaging is not. Normal packaging and frames are not acid-free or archival. That means over time the acids in those materials can degrade the art and cause it to yellow and fade over time (even though the print itself is archival). For packaging here’s what I do; If it’s 11×17, 12×12, or smaller I bag and board the art. If it’s bigger I tube them.
BAG AND BOARD:
Clear Bags with a backing board protects the artwork from damage, water, moisture, getting bent, etc. I use clear bags and make sure they are archival. I use Protective Closure Flap Tape Bags from ClearBags, they make sure the art won’t touch the tape. I also get archival or acid-free boards, acid-free is ok for a few years of temporary storage and protection. Matboard Center is a great affordable place, you can get boards that are acid-free on both sides but beware the core is not. The art should be fine for several years in that though. You can also look at clear bags for archival backers but these are thinner materials and may bend easier, for extra protection you cloud double them up.
BIGGER PRINTS:
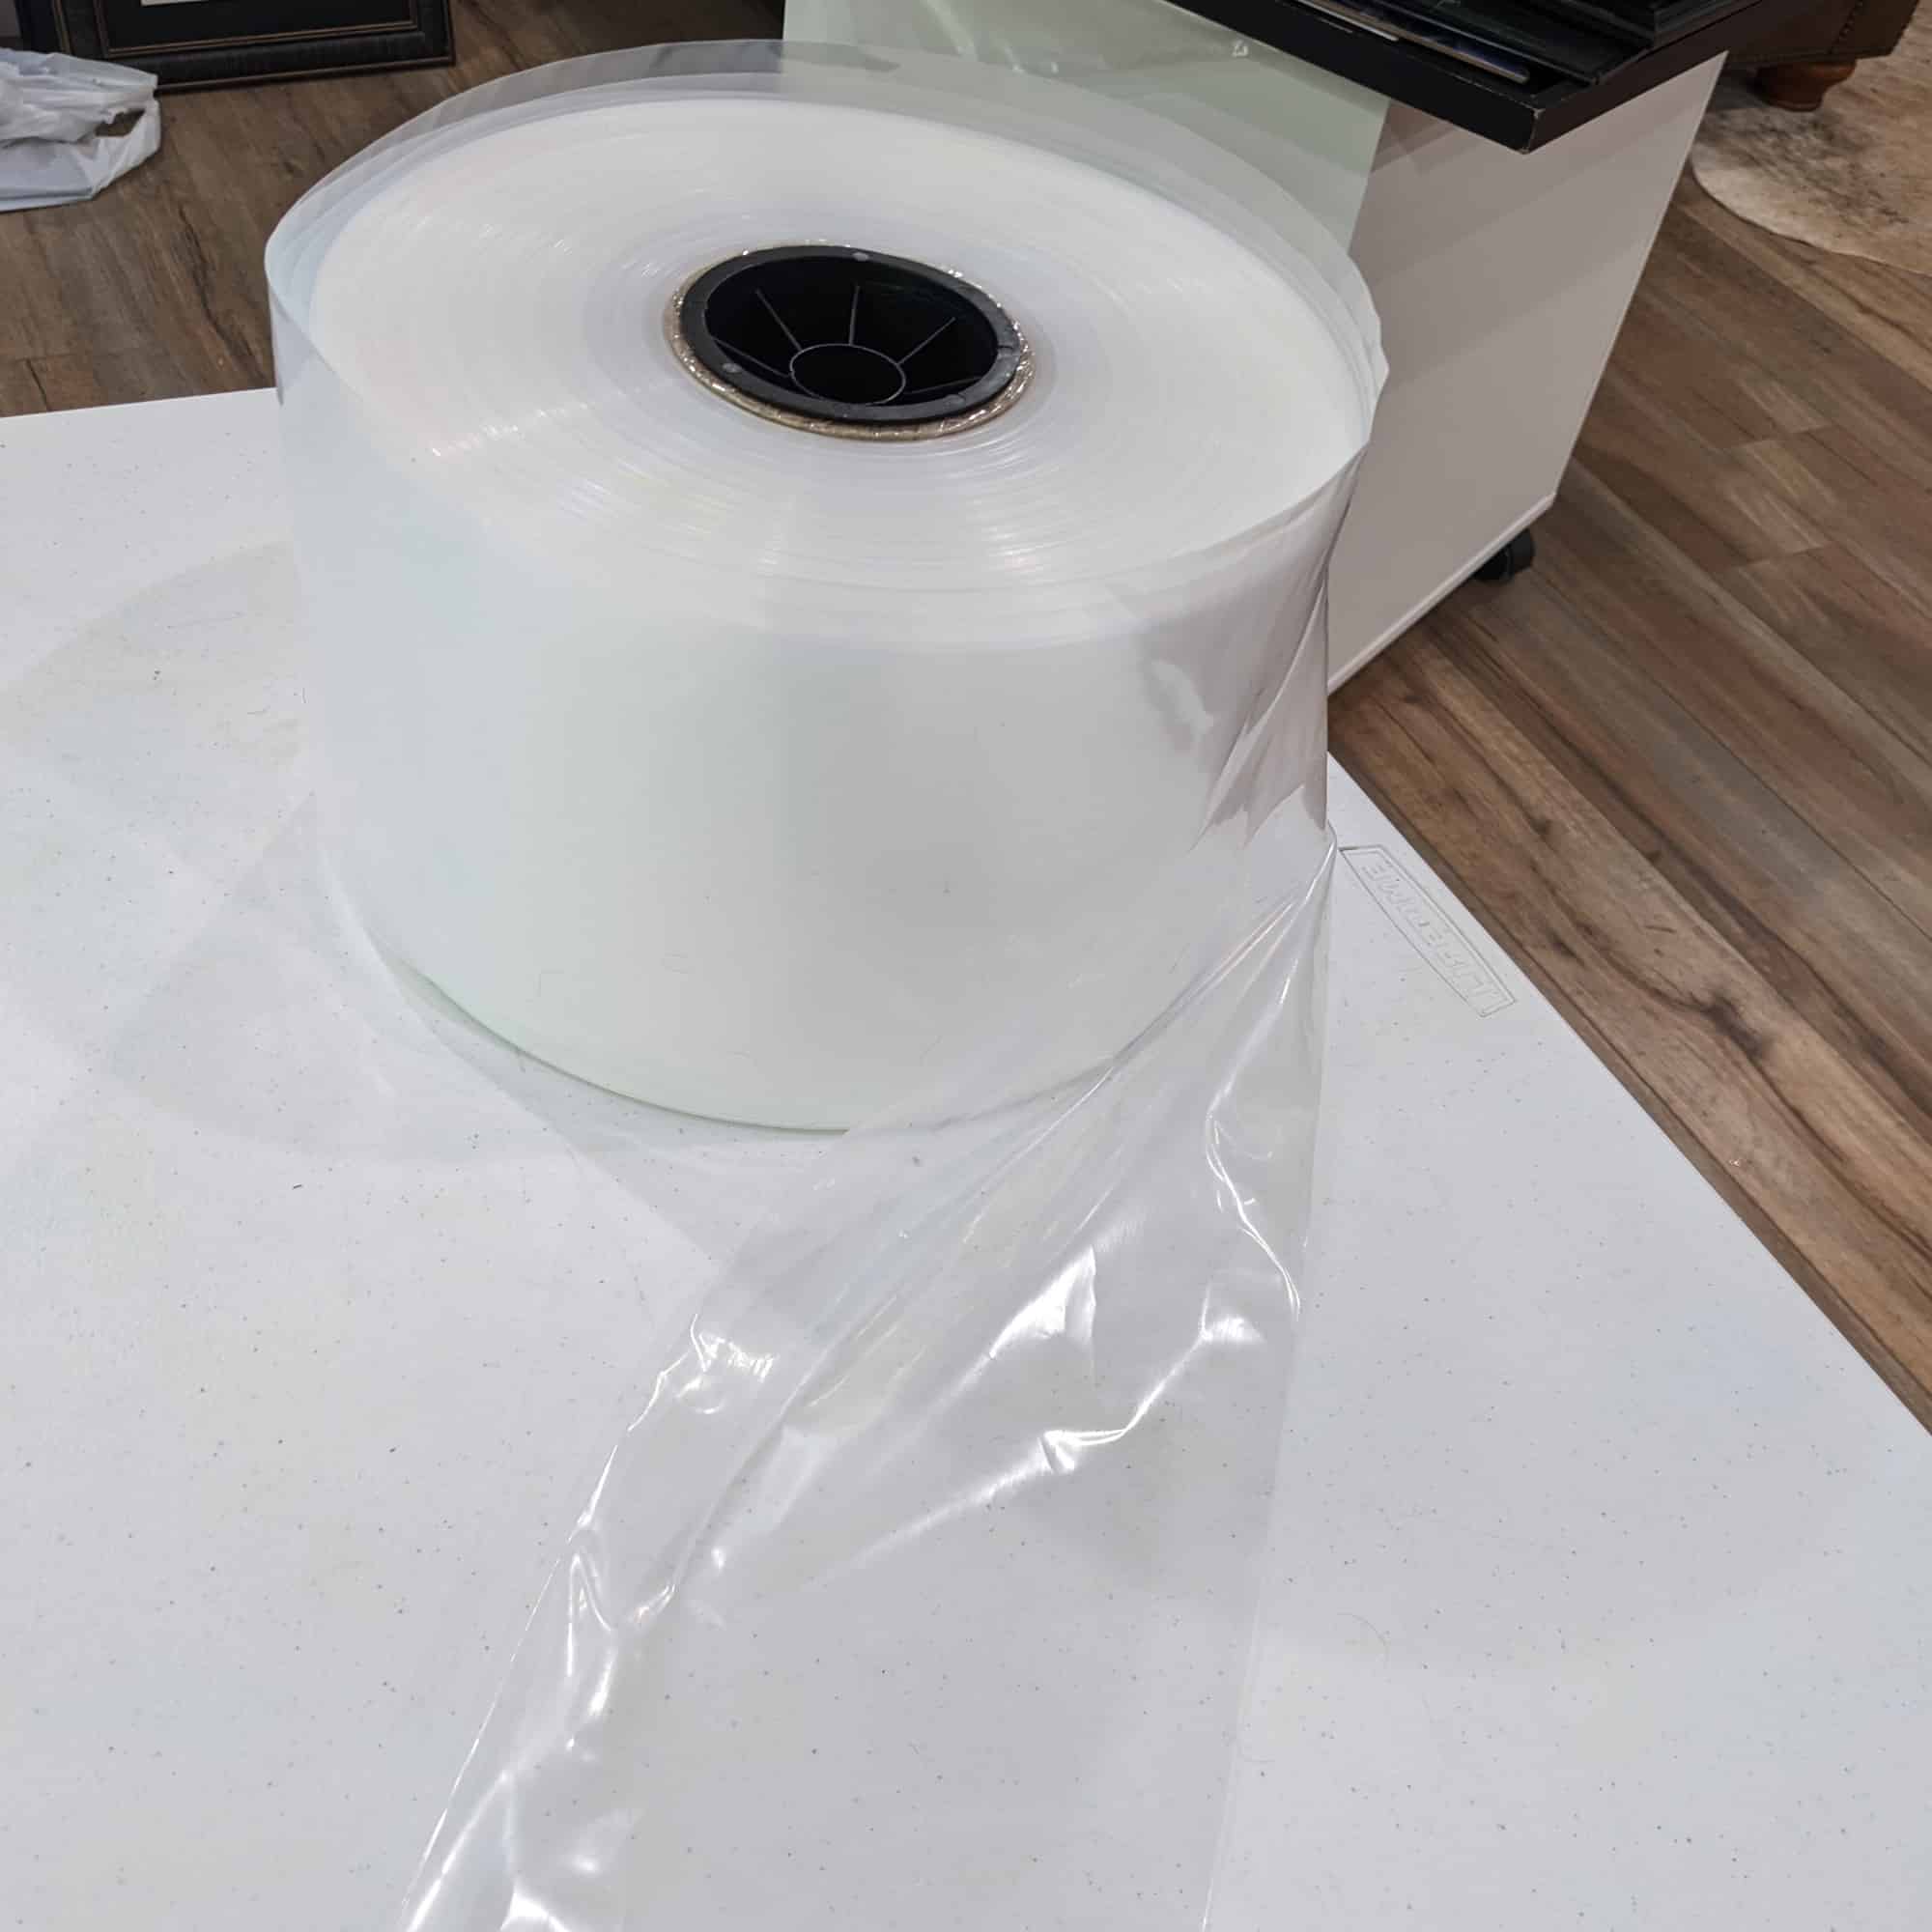
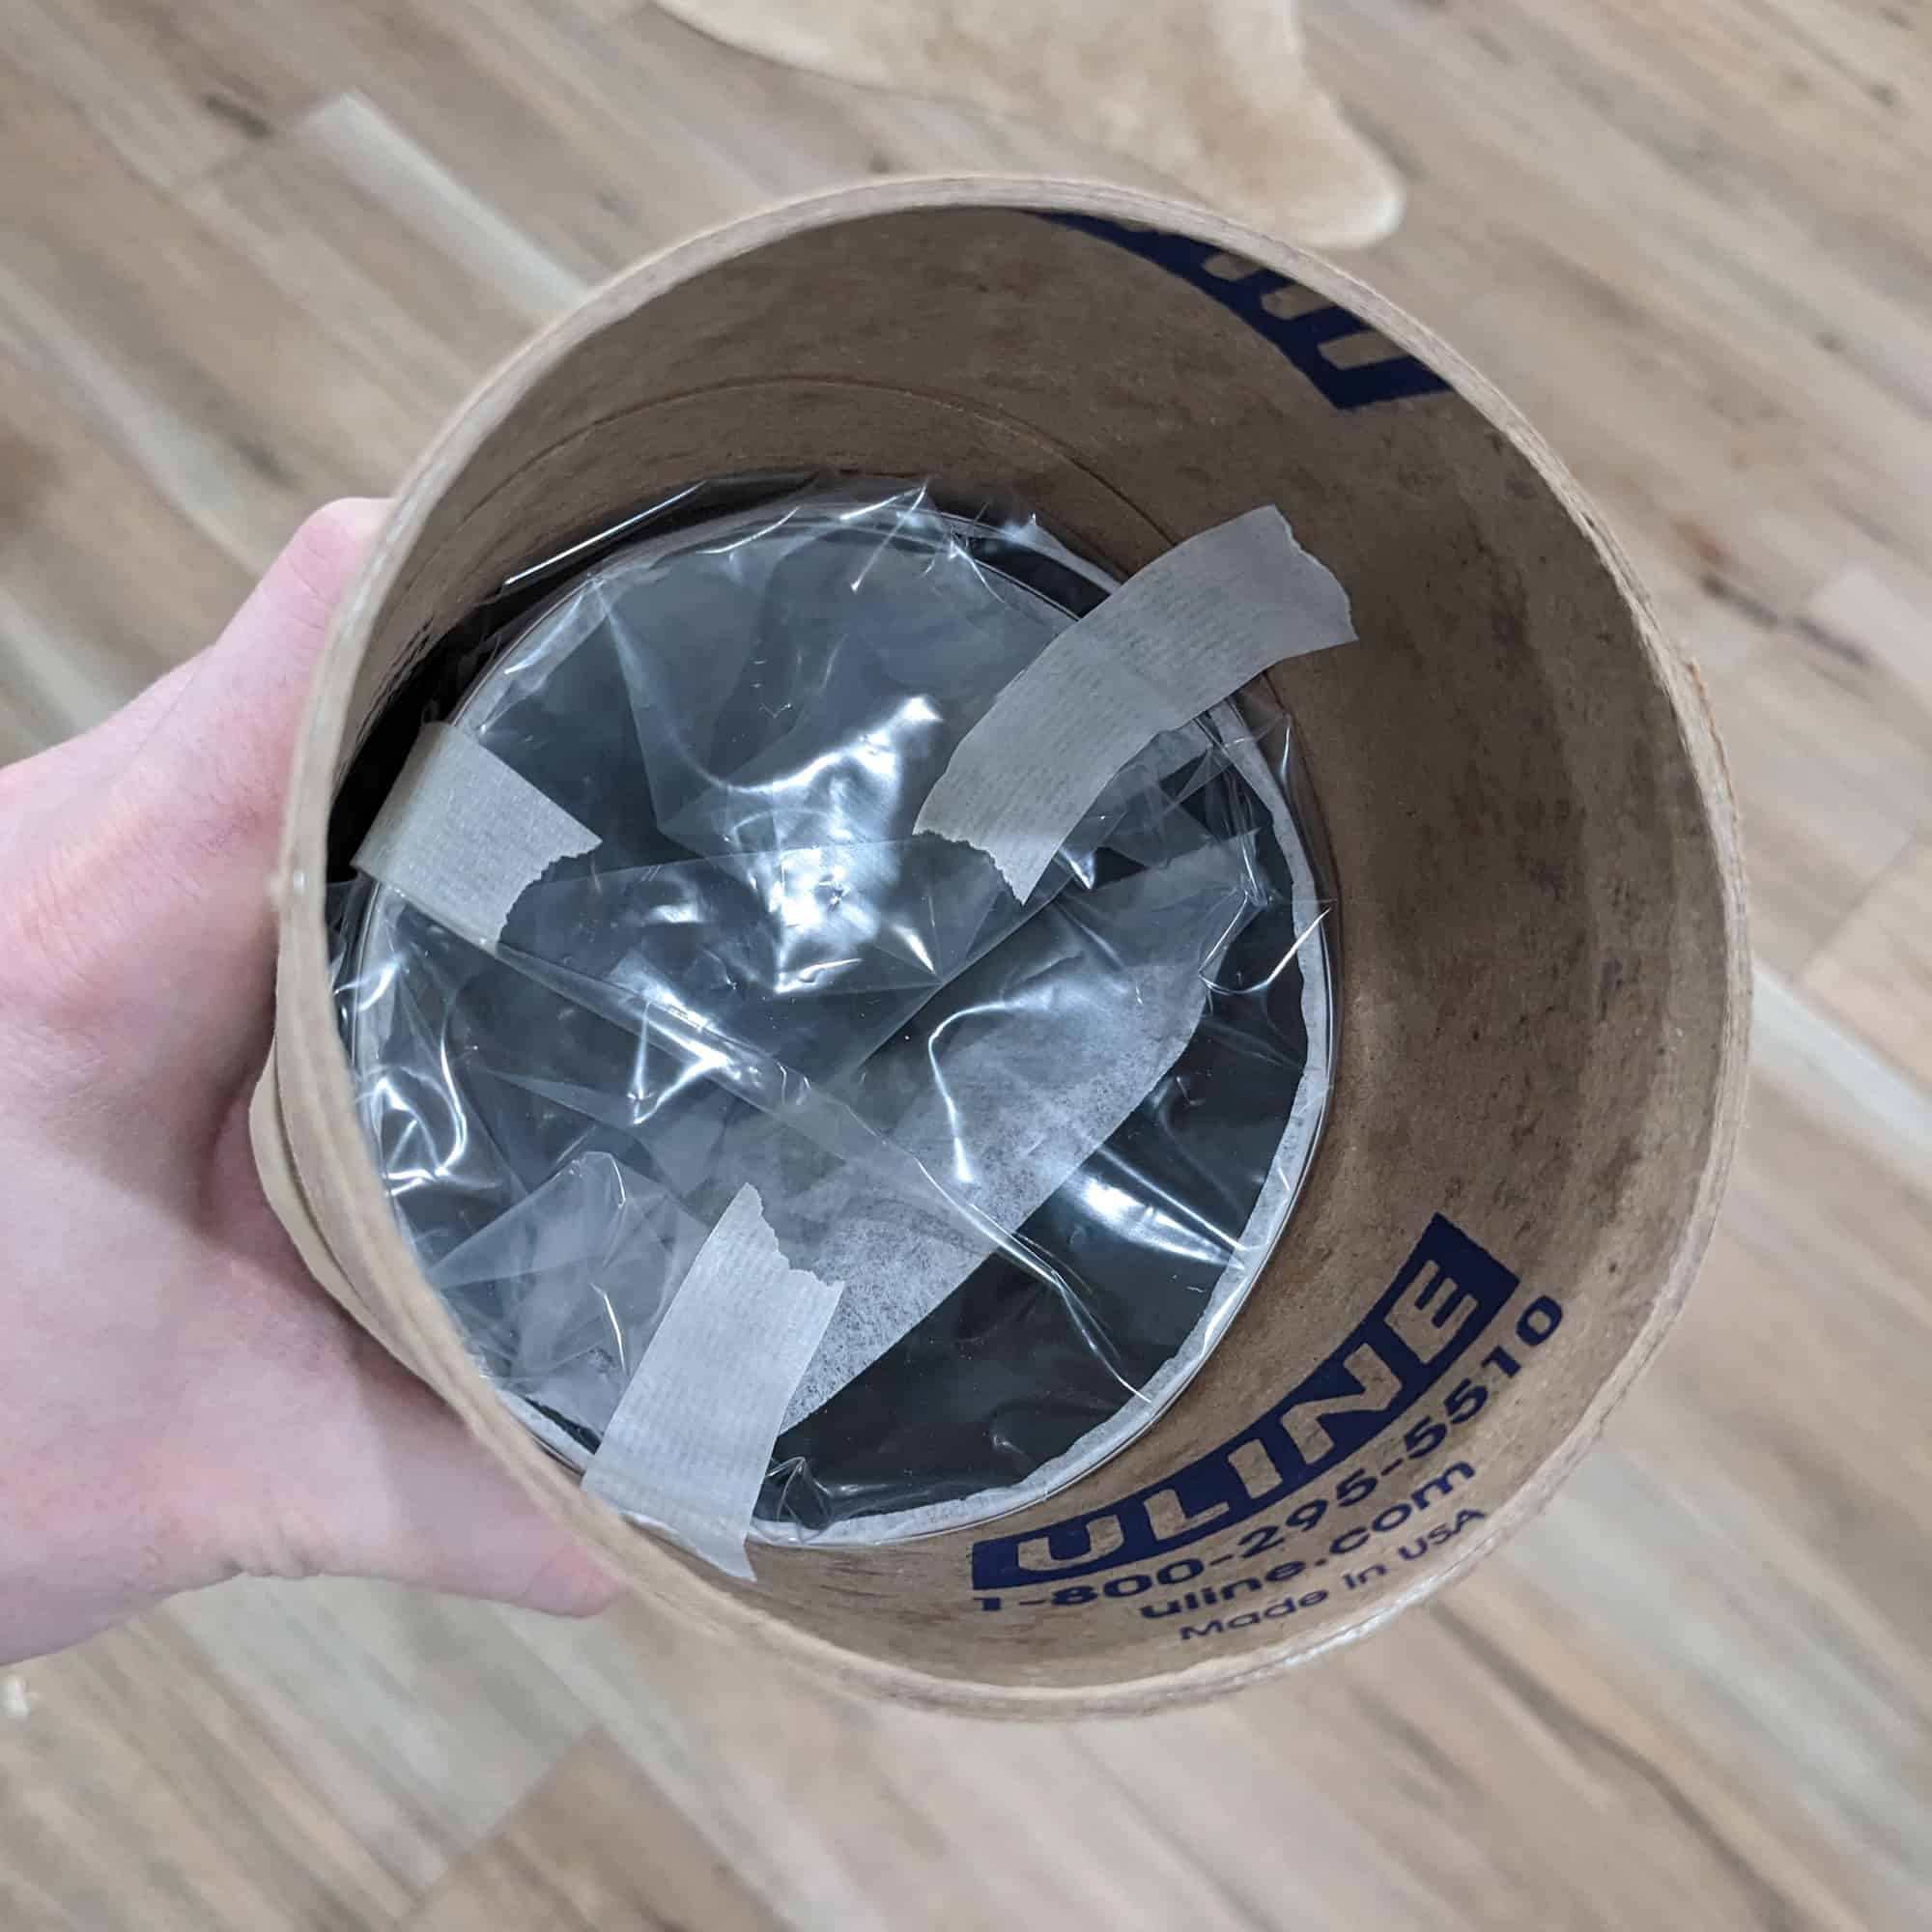
For prints that are 16×20 or larger, I tube them. I use 4-inch wide shipping tubes from Uline. You want 4-inch because 3-inch tubes are too tight, if your art sits in there it will have more curl when taken out, which will be harder to straighten out. Also, it’s easier to dent, scuff, or damage the art when rolling tight like that. I also get an archival-safe plastic, tube bag. It’s a roll from Uline you can cut to length it’s also 4 inches wide. This provides a plastic sleeve for the art to sit in while in the cardboard tube, this protects the Giclee Print from the acids in the cardboard and possible water that may seep in. Finally, get some archival tissue.
PACKING FOR TUBES PROCESS:
When packing a Giclee Print for tube shipping or storage, I lay the art on the table face up. I cut archival tissue to the size of the print and lay it on top of the artwork flat. This will protect the art from itself when you roll it so it doesn’t scuff, smudge, or scratch itself. I roll the art with the tissue on top.
Before rolling the print make sure to cut the plastic sleeve to the right length I add 3-4 inches to each end. So if the art is 16×20 I cut the plastic tube to 6 inches wider than the short end of the print 16+6=22 or 24 if you need.
Always roll the print so it’s shorter in length. As I stated above make sure to roll the print with the tissue on top of the art side, then slide it into plastic sleeve tubing. Release so it fills the plastic sleeve tubing. Make sure it’s a clean roll meaning the edge is touching itself all the way around to avoid denting. Fold the excess plastic sleeve material over to make an end cap if you will. Tape in place with archival tape. Then slide that into the cardboard tube. I usually tape the plastic sleeve to the cardboard inside the tube to keep it from sliding too much and add a little tissue to the top to fill extra space don’t use too much or you risk bending the print. You want enough to just keep it from banging around. When putting the cap on, this may sound dumb but be careful, I have accidentally popped the cap into the tube and damaged the art because I pressed too hard in the wrong spot and it overshot into the tube. Some tube caps are hard to put on so be careful and work the outer edge to get it in.
FINALLY FRAMING:
I always recommend to my customers how to go about framing and taking care of the Giclee Print they just purchased.
Remind them that the print is a Giclee Archival Print, but most frames are NOT archival, so make sure you frame it with archival materials and don’t hang it in direct sunlight. Tell them, when you take it out of the packaging to look at it, to make sure you repack it up the same way it was packed to protect it while you are waiting to frame it. Explain that it’s in a plastic sleeve in the cardboard tube to protect it from the acids in the tube. It also has archival tissue paper on it to protect it from scuffing itself. Let them know to be careful when handling because the prints can scuff.
I tell my customers there are 2 ways to about framing the Gicle Fine Art Print. You can frame it yourself or have a custom frame shop do it. Either way, go to a place that sells frames and custom frames. Never mount a Giclee Print the chemicals in the materials can cause it to deteriorate over time.
Option 1:
Frame it yourself:
A: Pick a frame the same size as the print; See if the shop has spacers it gets art off the glass, and ask the shop to cut an archival backing board (like archival poster board). You put spacers on the edge of the glass inside the frame. Then the Art on that, then archival backer behind the print to protect it from acids in normal frame backs. If you want to go one step further you can use archivers tape inside the frame on the edge it’s up to you.
B: Matting the artwork; get a larger frame, have an archival mat cut for the print and an archival backer, if you do this no spacer or tape is needed
Option 2:
Get it custom Framed:
Tell a custom framer it’s an archival giclee print and have them custom frame it. This one costs a bit more, but you know they will do it right.
You can invest in UV or Museum glass if you wish but it’s not totally necessary.
Now you know the important parts of Giclee Printing.
GICLEE PRINTERS:
https://goodimpressionsmtv.com/
https://www.gicleetoday.com/